Master the Layered Cake Topper: 3D Craft Tutorial
There is a specific moment in paper crafting where a project transforms from a simple decoration into a centerpiece. It happens when you move beyond flat, single-layer designs and embrace the dimension that brings an image to life. If you have ever looked at a complex, multi-tiered cake topper and wondered how to achieve that depth, the answer lies in understanding how to manipulate digital files. This process is not about finding a complicated new design; it is about using tools you likely already have to create something with real visual impact. Learning how to turn a flat design into a layered cake topper is a fundamental skill that changes how you approach every SVG file from here on out.
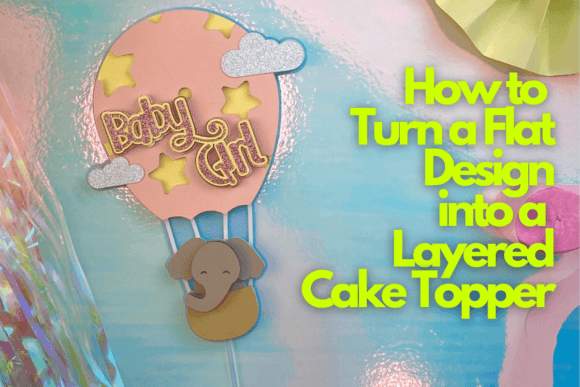
The core of this technique involves taking a single, two-dimensional vector graphic and strategically deconstructing it. Imagine a simple baby elephant illustration. In its flat form, it is a cohesive image. The goal is to separate its key visual elements—the body, the ear, the trunk, the balloon basket—onto different planes. When these planes are cut from cardstock and stacked with foam adhesive between them, they create a shadow and a sense of physical presence. This is where a class, like the one taught by Ella from The Craftaholic Studio, becomes invaluable. She demonstrates using Design Space to duplicate, slice, and offset shapes, turning one plain design into a blueprint for a three-dimensional object. The result is a project with personality, a playful style that catches the eye and holds attention.
From Flat File to Dimensional Design: The Core Technique
The process begins with selection. You do not need a dozen different SVGs. A single, clear design and a complementary font are often all it takes. For the baby elephant in a hot air balloon project, the elephant is the focal point, and the balloon provides the structure for height and layers. In your cutting machine software, you will duplicate the primary design multiple times. Each duplicate will be manipulated to create a new layer. This might involve using the "Offset" tool to create a slightly larger silhouette for a shadow layer, or using the "Slice" tool to isolate specific parts of the image, like the elephant's ear or the balloon's stripes, to cut them from a contrasting color.
This method is less about artistic drawing and more about technical problem-solving. You are acting as an engineer, planning how flat pieces will stack to form a whole. The personality of the final piece comes from your material choices. A pastel palette feels soft and perfect for a baby shower, while metallic cardstocks or bold patterns can make the same design feel festive for a birthday. The visual style is defined by the interplay of color, texture, and shadow created by the layers. It is a craft that rewards precision, but the overall appeal is one of handmade charm and thoughtful detail. It turns a digital asset into a tactile, custom creation.
Strategic Applications for This Craft Technique
Knowing how to create layered paper designs opens up a world of possibilities far beyond cake toppers. The same principles apply to creating stunning wall art, detailed scrapbook layouts, custom gift tags, and even prototypes for product packaging. For a small business owner, this skill allows you to produce unique, branded decorations for pop-up shops or create one-of-a-kind thank you cards for customers. For a blogger or content creator, it is a way to produce visually rich, textured props for flat-lay photography that stand out in a crowded social media feed.
The technique influences the visual hierarchy of your project immediately. The topmost layer commands attention, while the supporting layers provide context and depth. This is a practical application of design theory in a physical medium. It forces you to think about composition and balance in a new way. When you apply this to branding, you can create physical marketing materials that feel premium and intentional. A layered business card or a dimensional logo element for a display makes a much stronger impression than its flat counterpart. It demonstrates an investment in quality and an understanding of modern design aesthetics, where texture and dimension are highly valued.
Choosing Your Tools and Materials for a Professional Finish
The final result hinges as much on your material selection as on your digital manipulation. Cardstock weight is crucial. For structural layers that need to hold their shape, like the base or the balloon, a heavier weight (80-100 lb) is ideal. For finer details, a medium weight (65-80 lb) cuts more cleanly and is easier to handle. Ella's class emphasizes this, offering guidance on the ideal materials and tools. A strong grip mat, a fresh blade, and patience are your best friends. For adhesive, foam squares or dots are non-negotiable for achieving that true layered effect. They provide the consistent spacing that creates shadow and depth.
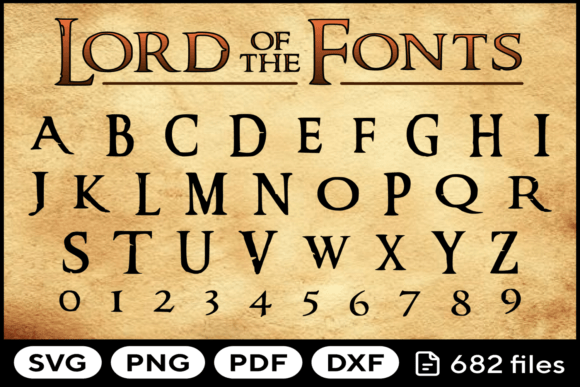
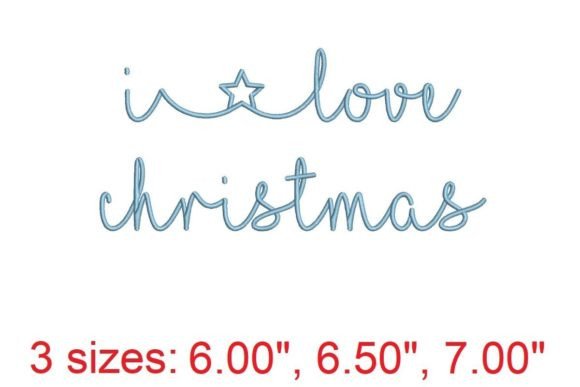
When it comes to the font element, choosing a script font or a handwritten font for a message like "Baby" or a name can add a personal, soft touch that complements the whimsical design of the elephant. This is where font pairing becomes important. The style of your lettering should match the personality of your graphic. A bold, clean sans serif font might work for a more modern, graphic topper, while a delicate serif font could suit a vintage theme. Testing how the font cuts at small sizes is essential for readability. What looks elegant on screen can become an illegible mess if the letters are too thin or the kerning too tight for your blade to navigate. Always do a test cut.
Mastering Assembly and Final Touches
Assembly is where your planning pays off. Lay out all your cut pieces in order, from the back layer to the front. Applying adhesive to the back of each layer before stacking them ensures a clean look. Work on a flat surface and press down firmly but gently to secure each layer without warping the paper. The bonus lessons in a dedicated class often cover these nuanced techniques—how to handle delicate cuts, how to align layers perfectly, and how to troubleshoot common issues like paper tearing or adhesive not sticking. These are the practical, hands-on insights that transform a frustrating attempt into a successful, professional-looking project.
The final product is more than just a cake topper. It is a testament to your ability to see potential in a simple design and execute a multi-step creative process. You have not just followed instructions; you have learned a method. You can now look at any flat SVG file and envision its layered potential. This skill is a valuable addition to any crafter's or designer's toolkit, blending digital precision with hands-on artistry to create objects with real character and depth. It is a perfect example of how modern typography and design assets can be leveraged for tangible, beautiful results.